Overview
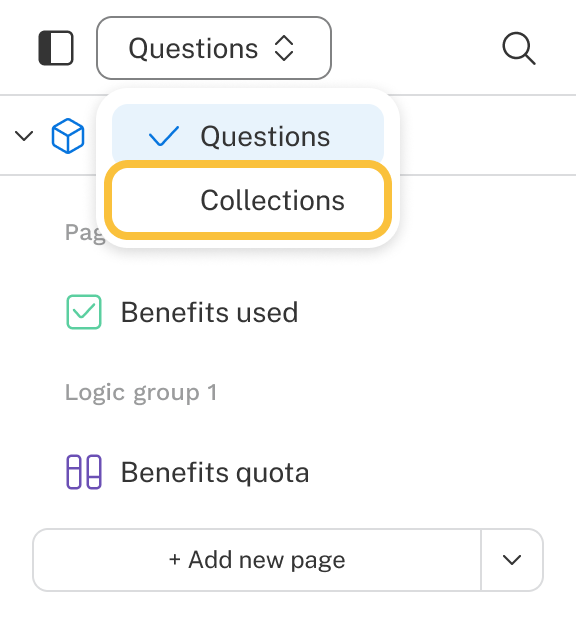
Blocks are containers that organize all survey elements, including questions, pages, and logic groups. Every survey has at least two blocks:
- Questions block: Contains the main survey content.
- Survey endings block: Contains survey endings.
When you add the first element to your survey, it's automatically placed into a block. A survey endings block is also added automatically at the end.
 ) on the block you want to merge.
 ).
).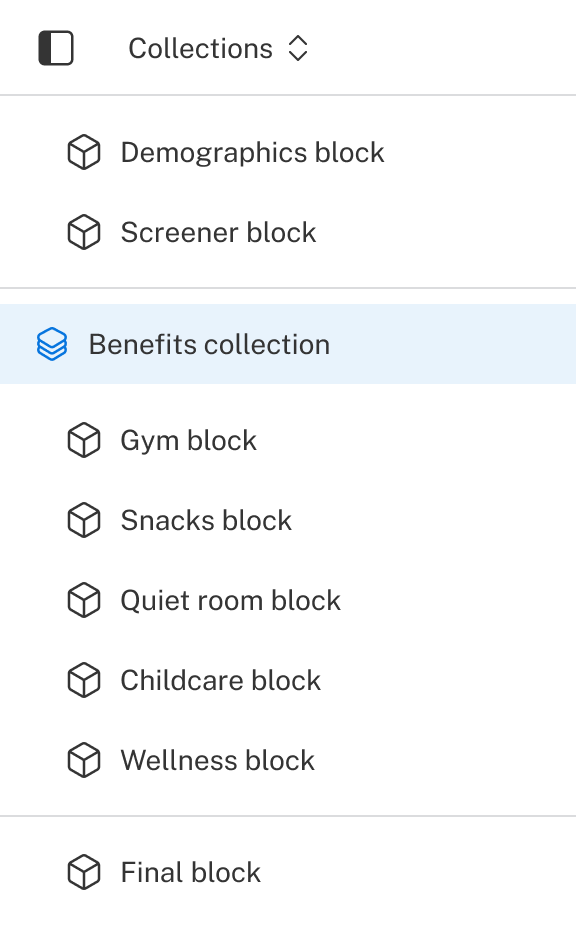
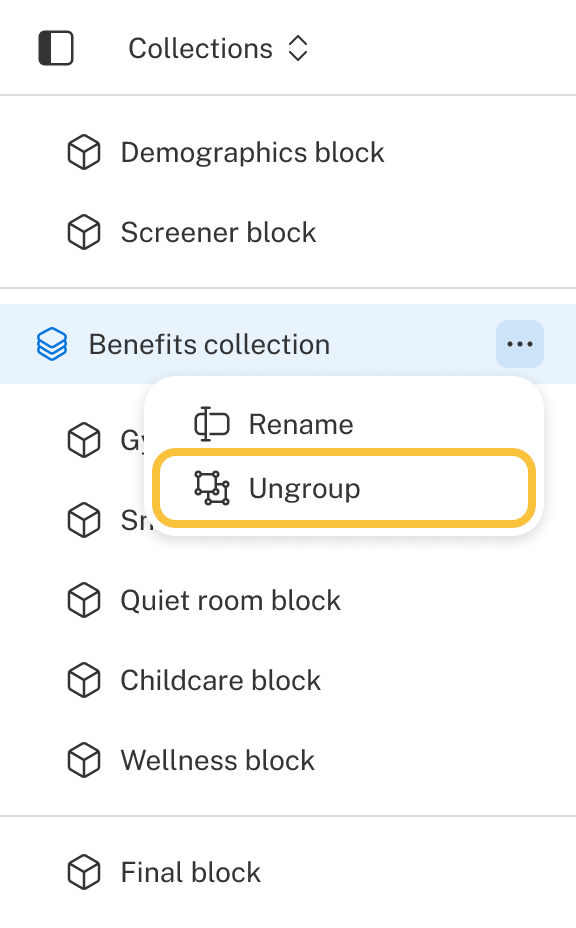
 ) on the collection and select Ungroup. All blocks return to the main survey structure, and any collection-level settings such as randomization no longer apply.