Text formatting

Introduction

Input fields in Discover, such as question text and list items, support text formatting. Larger fields like question text display formatting options when you click into the field.

A pencil icon on a list item text field is highlighted.

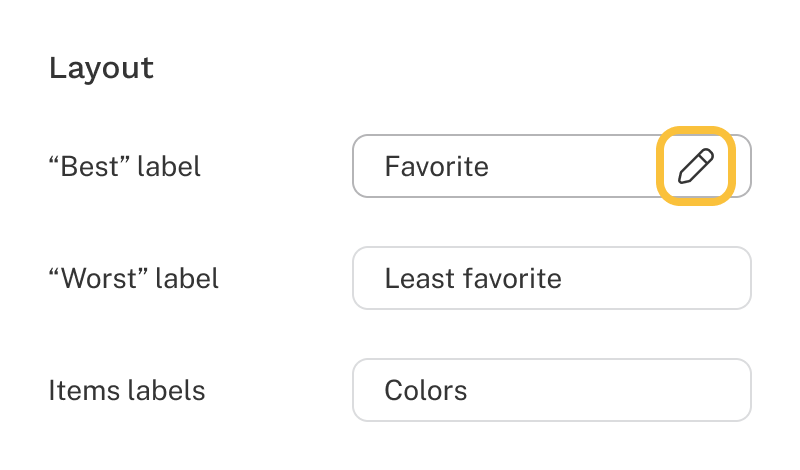
For smaller inputs like labels, click the pencil icon to access formatting options.

The pencil icon is outlined in the

Supported formatting options:

  • Bold (⌘B or Ctrl+B)
  • Italic (⌘I or Ctrl+I)
  • Underline (⌘U or Ctrl+U)
  • Text color
  • Alignment
  • Bulleted list
  • Numbered list
  • Links
  • Images
  • Tooltips

To undo formatting, highlight the formatted text and click the Clear formatting button (Eraser – Clear Formatting).

Dialog showing the icons and the formatting options they represent.

Text color

Most survey text defaults to a shade of black. Use the color picker to choose a new color or enter a HEX code. Click the Clear formatting icon (Eraser) to reset the text to its original color.

Dialog of the color picker. Choose a color or type in a HEX value.

Bulleted and numbered lists

Click either icon (Bulleted list iconNumbered list icon) to start a list. Press Enter to add the next item. You can also start a numbered list by typing "1." followed by your text. To exit a list, click the icon again or press Enter twice.

Insert a hyperlink to direct respondents to an external website. Links open in a new tab to avoid disrupting the survey.

Dialog of the insert link formatting.

To link existing text:

  1. Highlight the text you want respondents to click.
  2. Click the link icon (Link icon).
  3. Enter the destination URL and click Insert.

To insert a new link:

  1. Click the link icon (Link icon).
  2. Enter the URL and the display text.
  3. Click Insert.

Images

Insert images to clarify items or add visual interest. Supported formats are BMP, GIF, JPEG, PNG, TGA, and TIFF, up to 50MB. Images that exceed the available space are scaled down automatically.

Dialog with an uploaded image. The file name is shown as well as a field to insert alt text.
Before uploading, use a descriptive filename — especially for MaxDiff items, where the filename appears in analysis. For example, "Arizona.jpg" is more useful than "image_1.jpg."

Alt text

Alt text describes images for respondents using screen readers. When a screen reader encounters an image, it reads the alt text aloud. Be specific — "Woman standing on the edge of Camelback Mountain overlooking Phoenix, Arizona" is far more useful than "Arizona."

The image used to illustrate alt text.

Image sizing

In the image upload window, set max-widths for desktop (834px and wider) and mobile (833px and smaller) separately. Max-widths restrict how large an image can grow but allow it to scale down on smaller screens. Height adjusts automatically to preserve the original aspect ratio.

Defaults:

  • Landscape images: 75% max-width
  • Portrait images: 50% max-width

Max-widths can be set in pixels or percentages. Click the unit label on the right side of the input to switch. When using percentages, the value represents a portion of the parent container's width. Note that max-width only affects images larger than the defined value; smaller images display at their original size.

Tooltips

Add context to text or images without cluttering the screen.

  1. Select the text or image you want to annotate.
  2. Click the tooltip button in the rich text editor (Tooltip).
  3. Enter the explanatory text and click Insert.